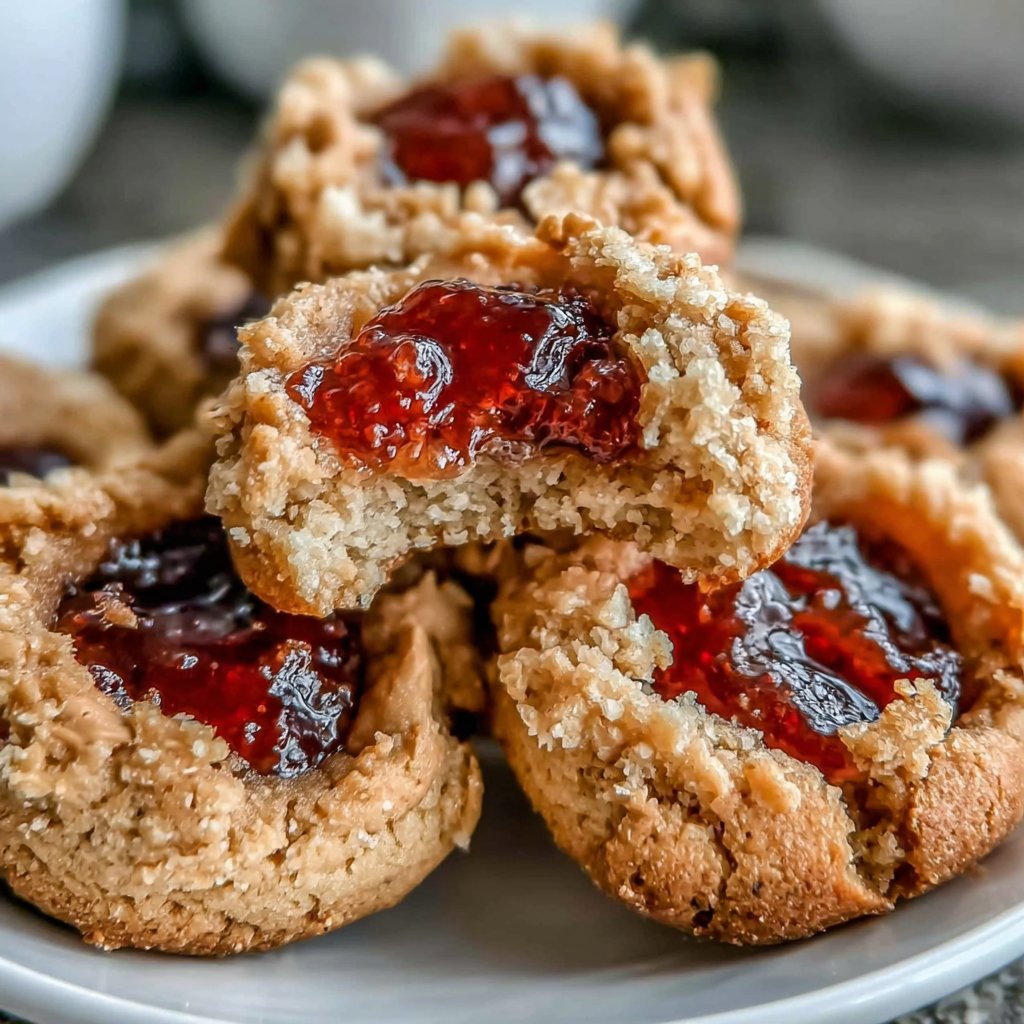
Peanut Butter & Jelly Thumbprints
Highlighted under: Plant Power
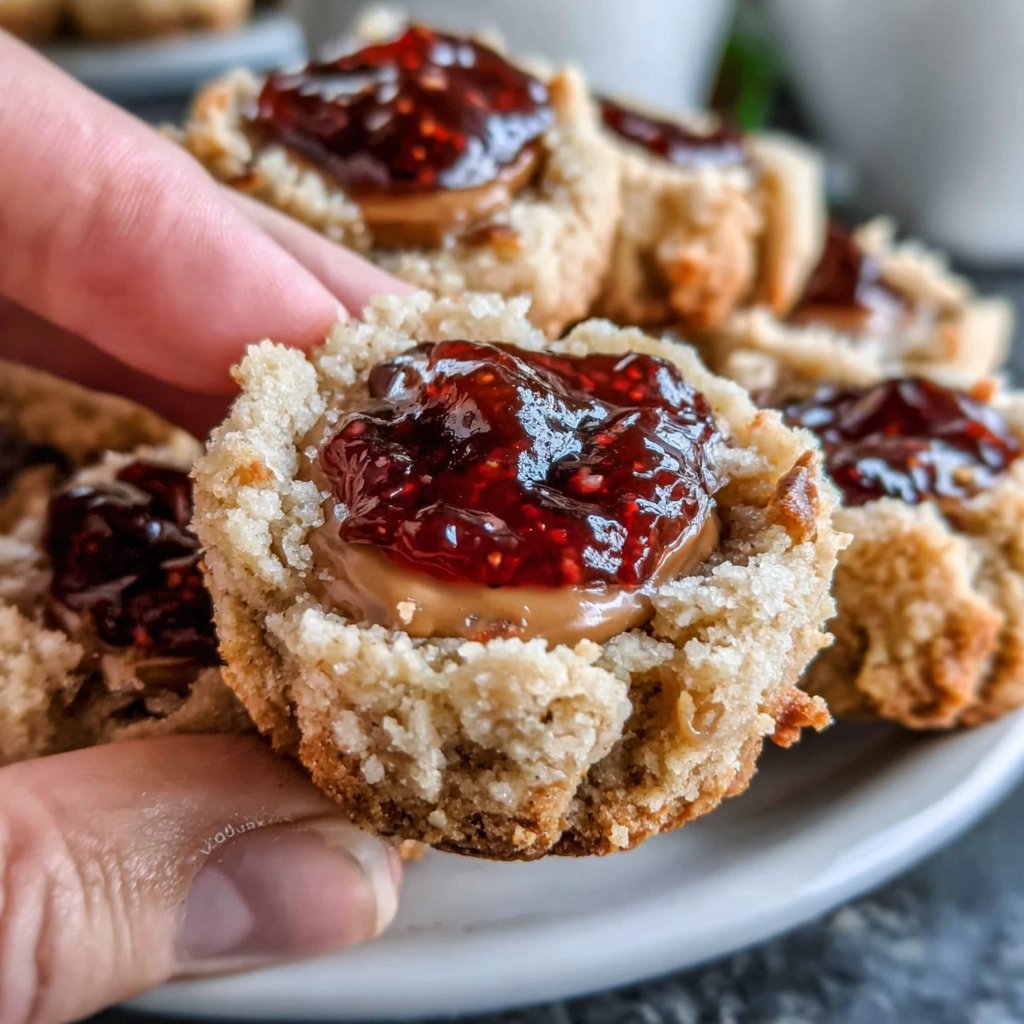
I absolutely adore Peanut Butter & Jelly Thumbprints. They combine the rich nuttiness of peanut butter with the sweet and tart kick of fruity jelly, making them a delightful treat that always satisfies my cravings. Each cookie is soft and chewy, with a perfectly formed thumbprint that holds a generous dollop of jelly. I often make these for gatherings or just when I need a comforting snack. Trust me; they disappear quickly, and everyone's face lights up when they take a bite.
When I first started making Peanut Butter & Jelly Thumbprints, I struggled with getting the right balance between the peanut butter and the jelly. After several trials, I realized that using creamy peanut butter instead of natural peanut butter made a world of difference. The creamy texture allows the cookies to hold together better, giving them a delightful chewiness that pairs perfectly with the sweet jelly.
One tip I swear by is to let the cookies cool for a few minutes before adding the jelly. This prevents it from melting into the cookie, allowing you to enjoy that beautiful layer of jelly on top. Trust me, it’s worth the wait!
Why You Will Love This Recipe
- The perfect blend of sweet and savory in every bite.
- A nostalgic treat that takes you back to childhood.
- Great for sharing with friends or family at any occasion.
The Role of Peanut Butter
Peanut butter is the star of this cookie recipe, contributing both flavor and texture. When selecting a peanut butter, opt for creamy versions to achieve a smooth, consistent dough that bakes evenly. Chunky peanut butter can be a fun variation but may result in uneven textures. The oiliness of the peanut butter helps to bind the dry ingredients, while also adding a delightful nuttiness that pairs splendidly with the sweetness of the jelly.
If you're looking to reduce sugar, consider using natural or unsweetened peanut butter, which still offers rich flavor without the added sweetness. Keep in mind that you may need to slightly adjust the sugar proportions to retain the cookies' chewy, tender texture. Experimenting with different brands can yield varying results in flavor and chewiness, so find your favorite!
Creating the Perfect Thumbprint
Achieving the iconic thumbprint shape is crucial for this recipe. When you create the indentation, be careful not to press too hard as it can cause the cookie to crack. A gentle press with your thumb or the back of a teaspoon is sufficient to create a well-sized cavity for the jelly. If you find that your dough is sticky, lightly flour your fingers or the back of the spoon to help ease the shaping process.
Once baked, allow the cookies to cool slightly before filling them with jelly. This helps prevent the jelly from melting and running out of the thumbprint. For a visually appealing touch, consider adding a small dollop of jelly or jam that complements the cookie's texture and flavor. I often like to use raspberry or strawberry jelly for the classic pairing, but feel free to experiment with your favorite fruits!
Storage and Serving Suggestions
These Peanut Butter & Jelly Thumbprints are best enjoyed fresh but can be stored in an airtight container for up to a week. To maintain their soft, chewy texture, place a slice of bread in the container. This will help keep the cookies moist, especially if they start to dry out over time. If you're making these cookies ahead of time, consider freezing them after baking. They freeze beautifully and can be stored in a single layer with parchment paper between them for up to three months.
For serving, these cookies pair wonderfully with a glass of milk or a cup of coffee. They can also be dressed up for gatherings by drizzling melted chocolate over the tops or sprinkling crushed nuts on the jelly before it sets. Each variation offers a unique twist while still honoring the classic flavors of peanut butter and jelly that we all cherish.
Ingredients
For the Cookies
- 1 cup creamy peanut butter
- 1/2 cup sugar
- 1/2 cup brown sugar
- 1 egg
- 1 teaspoon vanilla extract
- 1/2 teaspoon baking soda
- 1/4 teaspoon salt
For the Filling
- 1/2 cup jelly or jam (your favorite flavor)
Instructions
Steps
Mix the Dough
In a large bowl, mix together the peanut butter, sugar, brown sugar, egg, vanilla extract, baking soda, and salt until well combined.
Shape the Cookies
Scoop tablespoon-sized amounts of dough and roll them into balls. Place on a baking sheet lined with parchment paper.
Create the Thumbprint
Using your thumb or the back of a spoon, create an indentation in the center of each cookie.
Bake
Bake in a preheated oven at 350°F (175°C) for about 10 minutes, until the edges are slightly golden.
Add the Jelly
Remove from the oven and let cool slightly before filling the thumbprints with jelly.
Enjoy!
Pro Tips
- For a chocolate twist, try using chocolate or nutella as a filling instead of jelly. You can also sprinkle some crushed peanuts on top for added texture.
Ingredient Substitutions
If you’re looking for a gluten-free version of these thumbprint cookies, simply substitute the regular sugars and ensure your peanut butter doesn't contain any hidden gluten ingredients. Almond butter can also be used as a great alternative for a nutty twist, but keep in mind that the finished cookies may have a slightly different flavor profile and texture.
For a dairy-free option, all ingredients in this recipe are already dairy-free. If you choose to use jelly, just be sure to select a brand that aligns with your dietary needs. Homemade jelly or fruit preserves with no added sugar can also elevate the nutritional profile while maintaining great flavor.
Troubleshooting Common Issues
If your cookies spread too much during baking, it could be an indication that the dough was too warm or you didn’t use enough flour. Always ensure you refrigerate the dough for 30 minutes if it feels too soft before shaping. This quick chill helps the cookies maintain their shape while baking, resulting in that lovely thumbprint.
On the other hand, if your cookies are too dry or crumbly, it’s likely that they were overbaked or the ingredients were too dry. To remedy this, consider reducing the baking time by a minute or two and keep a close eye on the cookies in the last few minutes. The edges should be just golden and the center should look slightly underbaked to ensure softness.
Scaling the Recipe
This recipe is easily scalable for larger gatherings. Simply double or triple the ingredients, keeping the same ratios. When scaling, make sure to use larger mixing bowls and adjust your baking sheets as needed to accommodate the increased batch size.
If making a large batch, some bakers prefer to bake in multiple batches to avoid overcrowding the oven, which could lead to uneven baking. Just remember to keep an eye on the baking time as well, since larger amounts may require slight adjustments in cooking time based on your oven’s characteristics.
Questions About Recipes
→ Can I use natural peanut butter?
Yes, but the texture may differ. Creamy peanut butter works best for these cookies.
→ What kind of jelly is best?
Any flavor you love works! Grape, raspberry, or strawberry are all great choices.
→ How should I store the cookies?
Store them in an airtight container at room temperature for up to a week.
→ Can I freeze these cookies?
Yes, you can freeze the unbaked cookie dough or baked cookies. Just remember to thaw before serving.
Peanut Butter & Jelly Thumbprints
Created by: The Chefbenbakes Team
Recipe Type: Plant Power
Skill Level: Intermediate
Final Quantity: 24 cookies
What You'll Need
For the Cookies
- 1 cup creamy peanut butter
- 1/2 cup sugar
- 1/2 cup brown sugar
- 1 egg
- 1 teaspoon vanilla extract
- 1/2 teaspoon baking soda
- 1/4 teaspoon salt
For the Filling
- 1/2 cup jelly or jam (your favorite flavor)
How-To Steps
In a large bowl, mix together the peanut butter, sugar, brown sugar, egg, vanilla extract, baking soda, and salt until well combined.
Scoop tablespoon-sized amounts of dough and roll them into balls. Place on a baking sheet lined with parchment paper.
Using your thumb or the back of a spoon, create an indentation in the center of each cookie.
Bake in a preheated oven at 350°F (175°C) for about 10 minutes, until the edges are slightly golden.
Remove from the oven and let cool slightly before filling the thumbprints with jelly.
Extra Tips
- For a chocolate twist, try using chocolate or nutella as a filling instead of jelly. You can also sprinkle some crushed peanuts on top for added texture.
Nutritional Breakdown (Per Serving)
- Calories: 150 kcal
- Total Fat: 8g
- Saturated Fat: 1.5g
- Cholesterol: 25mg
- Sodium: 75mg
- Total Carbohydrates: 18g
- Dietary Fiber: 1g
- Sugars: 10g
- Protein: 4g